A short animated film begins with a clear moment: a character wants something, an obstacle appears, and an action changes the scene. Blender helps you plan that moment in three dimensions. AI tools can explore its visual treatment or generate supported shots. O4Prompts by OrigaStock helps you write the image and motion instructions that connect those creative decisions. Here is a practical Blender-to-AI workflow built around an original miniature adventure.
Start with a Story Small Enough to Finish
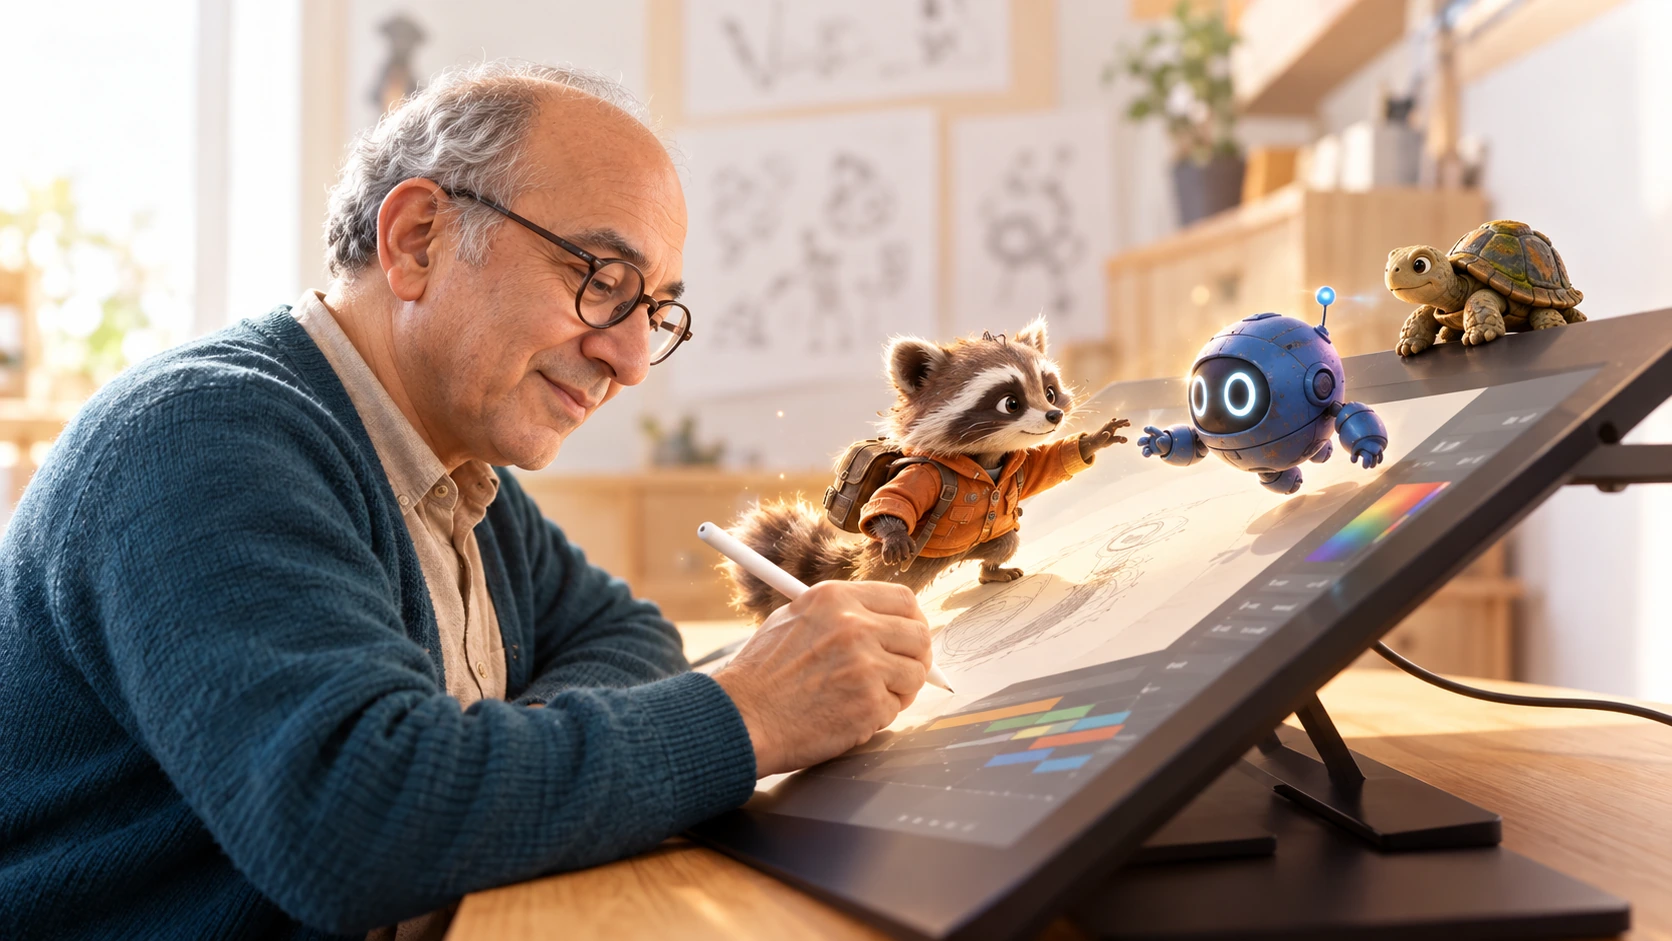
Imagine a curious raccoon in a rust-orange explorer jacket trying to reach a floating blue robot. A small turtle watches from the edge of a wooden workbench. The raccoon reaches, the robot drifts closer, and the turtle finally looks up. That is enough material for a short sequence with a beginning, a reaction, and a payoff.
Write the story in one sentence before developing its style. Then divide it into three shots: a wide view establishes the characters, a medium view follows the reaching action, and a closer reaction completes the moment. Give each shot one main event. This makes it easier to judge whether a generated clip serves the film.
Keep the first project compact. A single location and a small cast leave more attention for performance, framing, and continuity. You can expand the world after the first sequence works.
Block Out the Scene in Blender
Use simple shapes to establish the workbench, the characters' positions, and the camera. A cube can stand in for the table, rounded forms can represent the robot and turtle, and a rough character shape can mark the raccoon's height. The first question is whether the action reads clearly from the chosen viewpoint.
Place the camera at a slightly elevated three-quarter angle. Keep the raccoon and robot separated enough for their silhouettes to remain readable. Leave room in the direction of the reach. If the turtle is part of the payoff, make sure it remains visible without competing with the main action.
Test the staging with simple lighting. A broad warm light from one side and a quieter background can establish depth before detailed materials are ready. For animation, preview the movement in the scene and check where the character starts, where the action ends, and whether anything blocks the camera.
Save this layout as your spatial plan. A reference can guide an AI result, but the generated image or clip still needs review for changes to proportions, placement, and perspective.
Export a Reference the Next Tool Can Use
Render a clean still that explains the composition. Keep important silhouettes visible and use the aspect ratio intended for the final film. Save a PNG when the next tool accepts it. Blender's official output documentation explains output paths and formats; a still render generally needs to be saved separately rather than assumed to be stored with the project.
If you need a rendered animation, an image sequence lets you retain the individual frames and assemble them into a video afterward. Check the frame range, frame rate, output folder, and saving settings before starting. Keep an untouched copy of the reference alongside the project.
Check the destination model's supported inputs. Some workflows accept a reference image; others offer video references or additional controls. Upload the exported format that the selected tool supports. A written prompt by itself does not transfer Blender geometry, rigs, or keyframes.
Build the Visual Direction with O4Prompts
O4Prompts generates prompts. Use its tools to describe the scene, then manually copy the finished instructions into your chosen image or video generator. Blender remains your scene-building tool, and the generation engine handles the supported image or video output.
Start with Cinematic Shots to describe the camera angle, shot size, lighting, and material treatment. Use Composition Lab to express the relationship between the raccoon, the floating robot, and the watching turtle. The composition should help the viewer follow the reaching action.
Use Color Lab to coordinate the palette. Rust-orange clothing and a cobalt-blue robot can distinguish the two main characters, while cream walls and warm wood keep the environment quieter. Repeat the same palette in later shots.
Keep a short character description you can reuse. Record the raccoon's fur pattern and jacket, the robot's round shape and blue finish, and the turtle's shell color. Add the reference where supported, then check whether the result preserves those details.
Example image prompt
“Create a stylized 3D animated-film frame using the attached layout as a composition reference. A curious raccoon with a rust-orange explorer jacket stands on a warm wooden workbench, reaching toward a small floating cobalt-blue robot with a rounded body. A little olive-green turtle watches from the far edge of the table. Use a slightly elevated three-quarter camera angle with clear separation between the characters. Give the raccoon softly textured fur, the jacket woven fabric, and the robot a gently worn painted surface. Broad warm daylight enters from the left, with soft contact shadows and a restrained cream studio background. Keep the mood playful and the main action easy to read. No text, logos, watermarks, or interface elements.”
Review the still at full size. Check the paw, the robot's shape, the turtle's position, and the direction of the shadows. Correct a visible problem before using the image as the visual target for motion.
Give Each Shot One Clear Movement
Use the Video Prompt Builder to define the action in order. Begin with the starting pose, describe the change, and specify the ending. For the reaching shot, the raccoon extends one paw, the robot moves a little closer, and the characters hold their new positions.
Choose the camera separately with Camera Movement. A fixed camera is a useful starting point because the viewer can concentrate on the interaction. A slow forward dolly may work when you want the moment to feel more intimate. Avoid adding several camera moves to the same brief.
Example motion prompt
“Animate the approved reference as one continuous shot with a fixed camera. The raccoon slowly extends its right paw toward the floating blue robot. The robot drifts a short distance closer and settles near the paw without touching it. The small turtle lifts its head slightly, then stays still. End with the raccoon and robot holding their positions. Preserve the characters' appearance, workbench layout, warm daylight, and soft shadows. Keep the movement gentle and physically readable, with no cuts, new characters, sudden camera moves, or text.”
Set duration and other available controls in the generation tool. If the action becomes crowded, remove the turtle's movement and save its reaction for another shot. If a paw distorts during the reach, try a smaller movement or a different framing and compare the results.
Choose Where AI Fits in the Pipeline
You can use AI for concept frames, alternate lighting treatments, or selected generated shots while keeping other animation in Blender. Choose its role according to the scene. If an exact hand contact, prop position, or repeated camera path matters, inspect whether generation preserves it well enough; a Blender-rendered shot may give you the control you need.
Higgsfield also offers a Blender plugin. Its official plugin guide describes tools for images, video, 3D assets, and character animation inside the Blender viewport. Check the current requirements and supported options if you choose that route.
The O4Prompts workflow described here remains manual: prepare the brief, copy it, supply a compatible reference, and generate in your selected tool. You can use that approach with the plugin or with a separate generator that supports the inputs you need.
Protect Continuity, Then Edit the Film
Compare neighboring shots before assembling the final sequence. The jacket should keep its color and fastening, the robot should retain its proportions, and the warm light should continue to come from the same side. Watch for changes that happen within a clip as well as differences between clips.
Keep a small shot record with the reference, prompt, selected result, and notes about settings. When a result needs revision, name the specific issue: the robot changes shape, the turtle moves into the foreground, or the light switches sides. Preserve the choices that already work.
Assemble the approved shots in your preferred editor, including Blender's Video Sequencer if it suits the project. Trim to the action, match the intended framing, and add sound that supports the moment. A short mechanical hum or a soft fabric rustle can help the interaction feel connected. Review the complete sequence for pacing and a clear ending.
Frequently Asked Questions
Can I turn any Blender scene into an AI film?
You can prepare visual references from a scene, but the result depends on the selected tool's input support and generation behavior. Test one shot before committing the entire film to that workflow.
Does O4Prompts render Blender scenes or generate videos?
O4Prompts creates prompts. Render the scene in Blender and use a compatible generation engine for any AI images or clips.
How do I keep characters consistent?
Reuse the character descriptions, visual rules, and approved references where supported. Check every result for continuity and revise the visible mismatches.
Start your next animated short with a small story and a readable Blender layout. Build the visual and motion brief with O4Prompts, then develop one shot at a time in the tools you choose.